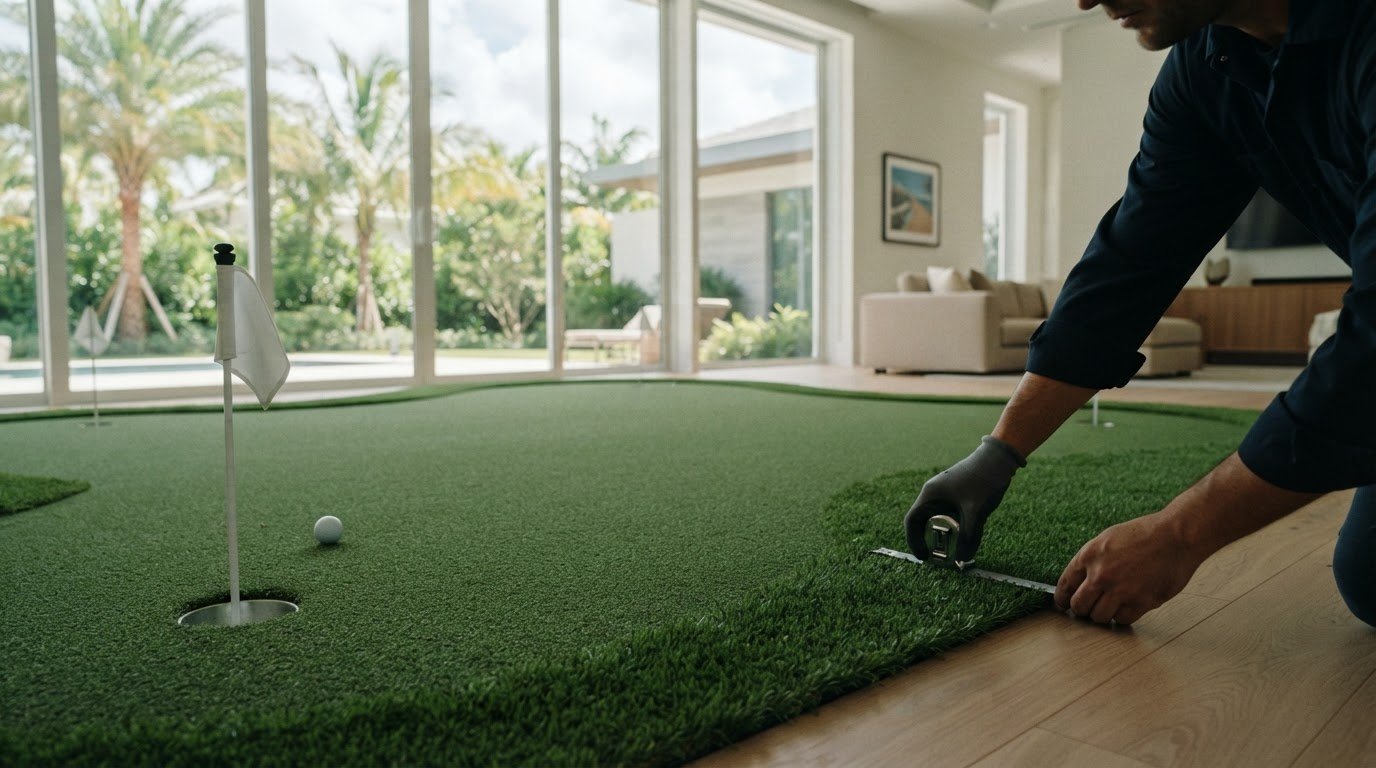
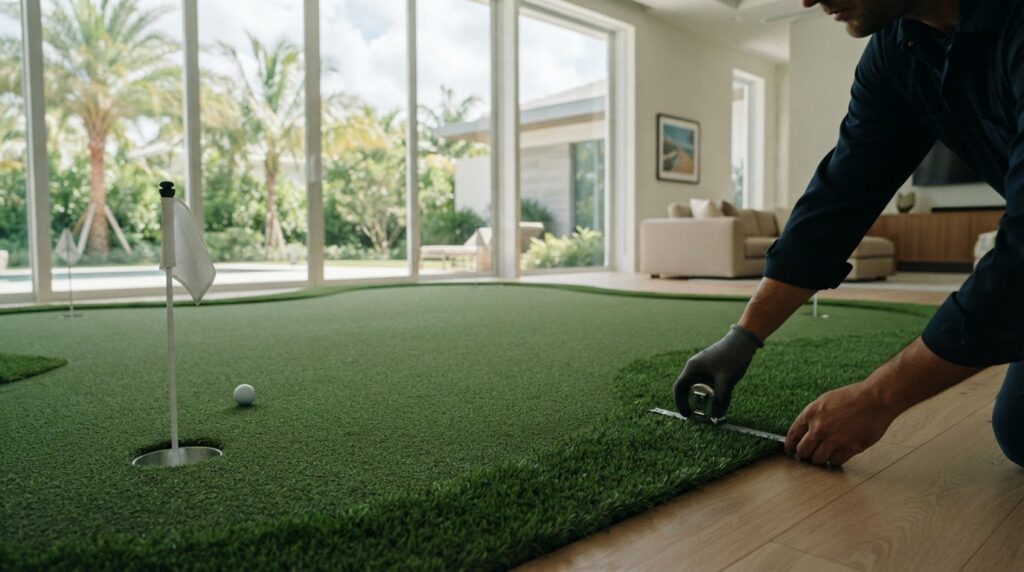
An indoor putting green is built from the floor up, not simply rolled into place. Indoor putting green installation in Palm Beach Gardens starts with planning the room, playing surface, and practice goals, then bringing those choices together in a custom synthetic turf design.
A putting surface may seem simple, but available space, floor preparation, green shape, and cup placement all affect how it feels to play. Careful planning can help the green fit naturally into the room while creating a convenient place to work on your short game.
This article explains the installation process, the design decisions that shape an indoor putting green, and the factors that influence project scope. You’ll also learn how to pair an indoor practice area with outdoor putting or chipping space and what to consider when choosing an installer. From the initial assessment to the finishing details, the goal is a practical space designed around your home and the way you play.
Key Takeaways
- Plan the green around the room’s layout and the kind of putting practice you want, rather than choosing a shape in isolation.
- Understand how surface preparation, design decisions, and finishing work fit together in an indoor installation.
- Explore ways to connect indoor practice with outdoor putting or chipping areas for a more versatile setup.
- Consider how adding chipping changes the layout, available practice space, and design priorities.
- See how the green’s dimensions, layout, and project requirements influence the price of a custom installation.
Indoor synthetic turf putting greens
Space needs depend on usable floor area, the green’s shape, and room to putt comfortably. Measure the intended footprint, account for furniture and doorways, then check that you can stand and swing freely around the planned surface.
Turf Performance and Ball Roll
Ball roll depends on the turf face, backing, prepared base, and installation quality. Compare samples along the intended direction of play and consider how each responds to your putting pace. A smooth-looking surface alone doesn’t show how the ball will travel.
Artificial turf can provide a consistent practice surface, but construction details affect speed and feel. Review the product’s stated pile height, face weight, backing, and recommended use. These specifications help distinguish putting turf from general landscape turf, which may not be designed for a controlled ball roll.
Nylon putting turf is one category to evaluate. Compare the manufacturer’s specifications with your practice goals, and test a sample with the golf balls and putter you use. Check whether the ball tracks predictably across seams and toward a potential cup location. A sample that rolls well in one direction, for example, may feel different across its width.
For indoor putting green installation in Palm Beach Gardens, assess the entire assembly rather than choosing turf by fiber alone. Surface flatness, seams, and edge transitions can affect the ball’s path. Review the product specification sheet and understand how the base and turf work together.
Maintenance Requirements and Lifespan
Synthetic putting turf needs routine care to keep debris from affecting play. Remove dust, leaves, and loose material with a suitable brush or vacuum, following the turf manufacturer’s care guidance. Clear debris from cup openings so balls can enter without obstruction.
Lifespan varies with product construction, installation, indoor conditions, and frequency of use. Product specifications can clarify intended applications and maintenance guidance, but they don’t establish a universal lifespan for every installation. A lightly used home putting area and a frequently practiced surface will have different wear patterns.
Inspect seams, edges, and high-use spots during regular upkeep. If a seam starts to lift or the surface develops a visible irregularity, address it before it affects ball roll. Avoid harsh cleaning products unless the manufacturer approves them, as residue can change the turf’s feel or appearance.
Keep care practical: remove debris, brush the surface as directed, and check the cup and perimeter. A household with pets, for instance, may need to remove debris more often than a room used only for putting. Use the turf product sheet as your guide to cleaning methods and care limits.
Indoor putting green installation process
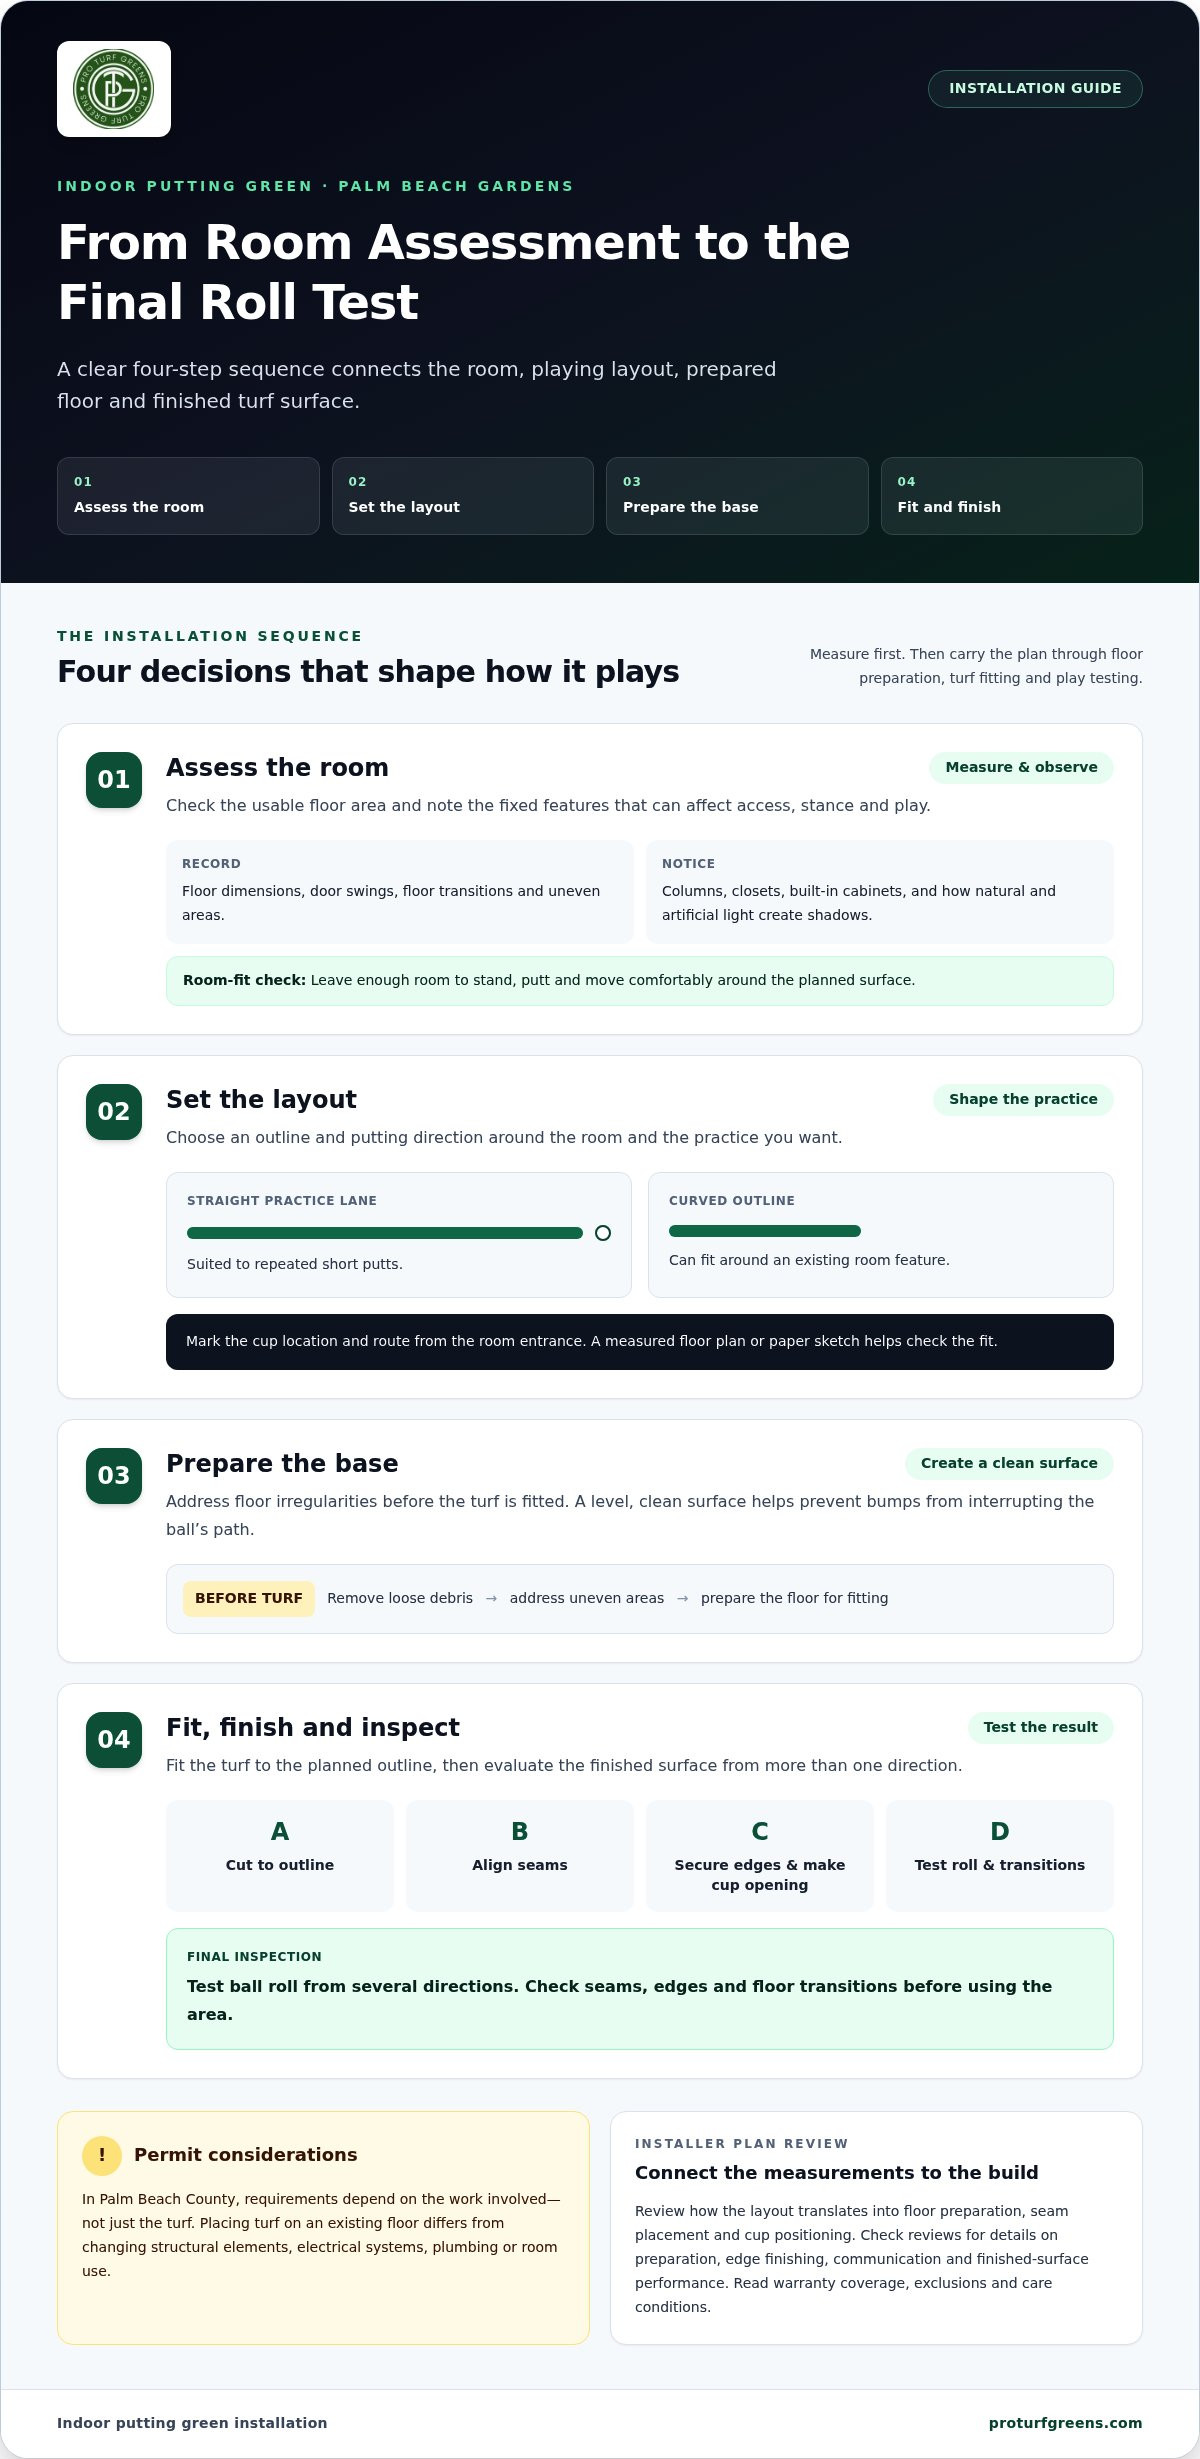
A successful installation follows a clear sequence: assess the room, plan the layout, prepare the floor, fit the turf, and inspect the finished surface. For example, a doorway close to the planned green calls for a layout that preserves access and neatly contains the edges.
In Palm Beach County, permit considerations depend on the work involved, not just the turf surface. Placing turf on an existing floor differs from changing structural elements, electrical systems, plumbing, or room use. Those details determine which local building requirements apply.
Before work begins, measure the proposed area and note fixed features such as columns, closets, and built-in cabinets. Mark the cup location and route from the room entrance. A measured floor plan or paper sketch can show whether the green leaves enough room to stand, putt, and move comfortably.
- Assess the room. Record floor dimensions, door swings, floor transitions, and any uneven areas. Check how natural and artificial light fall across the surface, since shadows can affect how you read a putt.
- Set the layout. Choose the green’s outline, putting direction, and cup position. A straight practice lane suits repeated short putts, while a curved outline can fit around an existing room feature.
- Prepare the base. Remove loose debris and address floor irregularities before fitting the turf. A level, clean surface helps prevent bumps from interrupting the ball’s path.
- Fit and finish. Cut the turf to the planned outline, align seams, secure the edges, and create the cup opening. Test ball roll from several directions, then check seams and transitions before using the area.
When comparing indoor putting green installers near Palm Beach Gardens, read reviews and any warranty terms carefully. Look for review details about site preparation, edge finishing, communication, and how the completed surface performs. Read warranty language for coverage, exclusions, and care conditions, and keep the written terms with the turf product information.
Before approving a plan, have the installer explain how the measured layout translates into floor preparation, seam placement, and cup positioning. A useful project plan connects those decisions to the room itself, such as keeping a seam away from the main putting line. For a more tailored approach, review custom project planning alongside your room measurements.
Indoor and outdoor synthetic putting greens
Pairing indoor and outdoor greens can create distinct practice zones for different conditions and shots. An indoor area offers a controlled place to putt, while an outdoor green can combine putting with chipping practice. Plan both spaces together so they serve complementary purposes rather than duplicating the same practice lane.
Start with the golfer’s routine. Someone focused on start line and pace may prefer a compact indoor putting surface, then use the outdoor area for longer putts or chips. A household that enjoys casual practice might place the outdoor green near a patio and keep a small indoor surface available for quick sessions.
Indoor and outdoor settings bring different design considerations. Inside, furniture, walls, doorways, and floor transitions define the usable footprint. Outside, sunlight, rainfall, drainage, and landscaping influence placement and upkeep. A shaded corner, for example, has different conditions from an exposed yard area, so assess the site before settling on an outdoor layout.
Choose turf and construction for each location rather than assuming one product suits both. Indoor turf is selected for its intended putting use and the prepared floor beneath it. An outdoor assembly must also suit its site and exposure to the elements. Compare product specifications, backing, and care guidance for each surface, then consider how each will support the shots you plan to practice.
Map the transition between the two areas before installation. Mark the indoor and outdoor greens, walking routes, and space needed to stand or swing. An outdoor chipping target near a path, for instance, could obstruct movement, while placing it beside a practice area can make the setup more functional. Factor in storage and access for golf balls and practice equipment.
- Separate the purpose. Assign indoor space to putting drills and outdoor space to chipping or longer practice.
- Compare the environments. Account for room constraints indoors and site exposure outdoors.
- Coordinate the layouts. Plan routes, practice zones, and transitions as one connected design.
Once you’ve chosen the locations, review both plans side by side. Check that each green has a clear purpose, the outdoor area fits the yard without disrupting its use, and indoor access remains unobstructed. A measured sketch can show how practice might flow from putting inside to chipping outdoors. This coordinated approach shapes the setup around the home, available space, and golfer’s routine.
Indoor putting and chipping greens
Adding chipping turns an indoor green from a putting surface into a short-game practice area. A putt stays on the turf, while a chip travels through the air before landing and rolling. Plan for both from the outset. For example, a layout could pair a putting lane with a separate landing zone and target cup.
Start by identifying the shots you want to practice. Low-running chips need room for the ball to land and roll across the surface. Higher chips need clear space above the hitting area. Sketch the intended shot path, landing area, and putting route, then compare the plan with the room’s dimensions, ceiling, lights, and furniture.
Choose the landing zone carefully. A chip landing near an edge may roll onto a hard floor, while a target near a wall can leave little room for recovery shots. Mark the landing area with removable tape before installation. Hitting a few practice shots from the planned position can show whether the approach feels natural and the ball reaches the intended turf.
Surface design matters after the ball lands. The turf should support the roll-out you want to rehearse, and the transition between the landing zone and putting area should not interrupt the ball. Test a sample by hitting a low chip onto the landing area, observing its first bounce, then following its roll toward the cup. Adjust the target location if the ball repeatedly runs beyond the planned practice zone.
- Define the shots. Choose whether the space is for low runners, controlled landing practice, or both.
- Map the flight path. Account for ceiling height, light fixtures, and nearby furnishings.
- Position the target. Leave enough turf for the ball to land and roll toward the cup.
- Test the layout. Use practice shots to assess landing and roll before finalizing the design.
Equipment also affects the layout. Set aside a clear hitting position for your stance and swing, and keep the practice route free of furniture. A room with a central table, for example, may suit a narrow chip lane better than a broad landing area. Marking the stance, landing zone, and target on a floor plan makes these constraints clear before work begins.
For a Palm Beach Gardens home, the right design fits both the room and your practice goals. A putting-only surface may suit a compact area, while chipping requires a defined flight path and landing space. Treat them as distinct design needs, then decide whether the room can accommodate both without obstructing everyday movement.
What affects the price of a custom indoor putting green?
The cost of a custom indoor putting green depends on its dimensions, design, turf, and installation requirements. A simple rectangular practice surface involves different planning and finishing from a shaped green with multiple contours, cups, or a chipping area. The room itself matters, too.
Green size and shape: A larger surface uses more turf and requires more installation work. Curves and cutouts can take more precise fitting than straight edges. A green designed around a column, for example, needs a custom outline that fits the room and preserves clear putting paths.
Turf selection: Product specifications and intended use affect material choices. Putting turf should suit the desired ball roll, while a design that includes chipping may need a separate landing area. Compare the turf’s stated use, face construction, backing, and maintenance guidance to identify the material suited to your planned practice.
Floor preparation: The existing floor’s condition influences the work needed before turf installation. A clean, even surface may need less preparation than flooring with irregularities, loose sections, or difficult transitions. A raised doorway edge, for example, may require careful finishing so the green meets the adjacent floor cleanly.
Design features: Cup placement, contours, seams, and perimeter finishing add planning and labor. A straightforward putting lane has different requirements from a green with several target areas and a shaped edge. If the design includes chipping, it must also account for a hitting position, ball flight, and landing space.
Room access and installation details: Narrow hallways, stairs, and tight turns can affect how materials reach the installation room. The installer must also account for fixed features, such as built-in cabinets or furniture that cannot be moved. Sharing a measured floor plan and photos of access routes can help clarify the project’s scope.
To request a useful project estimate, prepare the room dimensions, a sketch of the desired shape, your preferred practice activities, and photos of the floor and access route. Pro Turf Greens bases its project fees on custom design, site preparation, and professional construction. Factors include the area, turf selection, floor preparation, design complexity, and installation access.
Ready to define the design? Request a custom putting green quote with your room measurements and preferred features.
Pro Turf Greens: Backyard Putting Greens
Pro Turf Greens designs and installs synthetic turf putting greens around homeowners’ practice goals and available space. If you’re considering an indoor setup, describe how you plan to use it, such as practicing short putts or combining putting with chipping. Those priorities help shape a layout suited to the project.
For homes with outdoor space, a backyard green can complement an indoor practice area or provide a dedicated place to putt outside. Pro Turf Greens also designs and installs tee lines and driving ranges, giving homeowners additional golf practice options to consider.
Bring your ideas, room or yard measurements, and preferred practice activities to the conversation. Contact Pro Turf Greens to discuss your putting green project.
Shape a Practice Space That Fits Your Home
Start by deciding what you want the space to make possible. A dedicated putting area, a place to practice short-game shots, or a connection between indoor and outdoor practice can each point to a different design. If you’re considering indoor putting green installation in Palm Beach Gardens, let your practice routine guide the conversation and think about how the project will fit into your home.
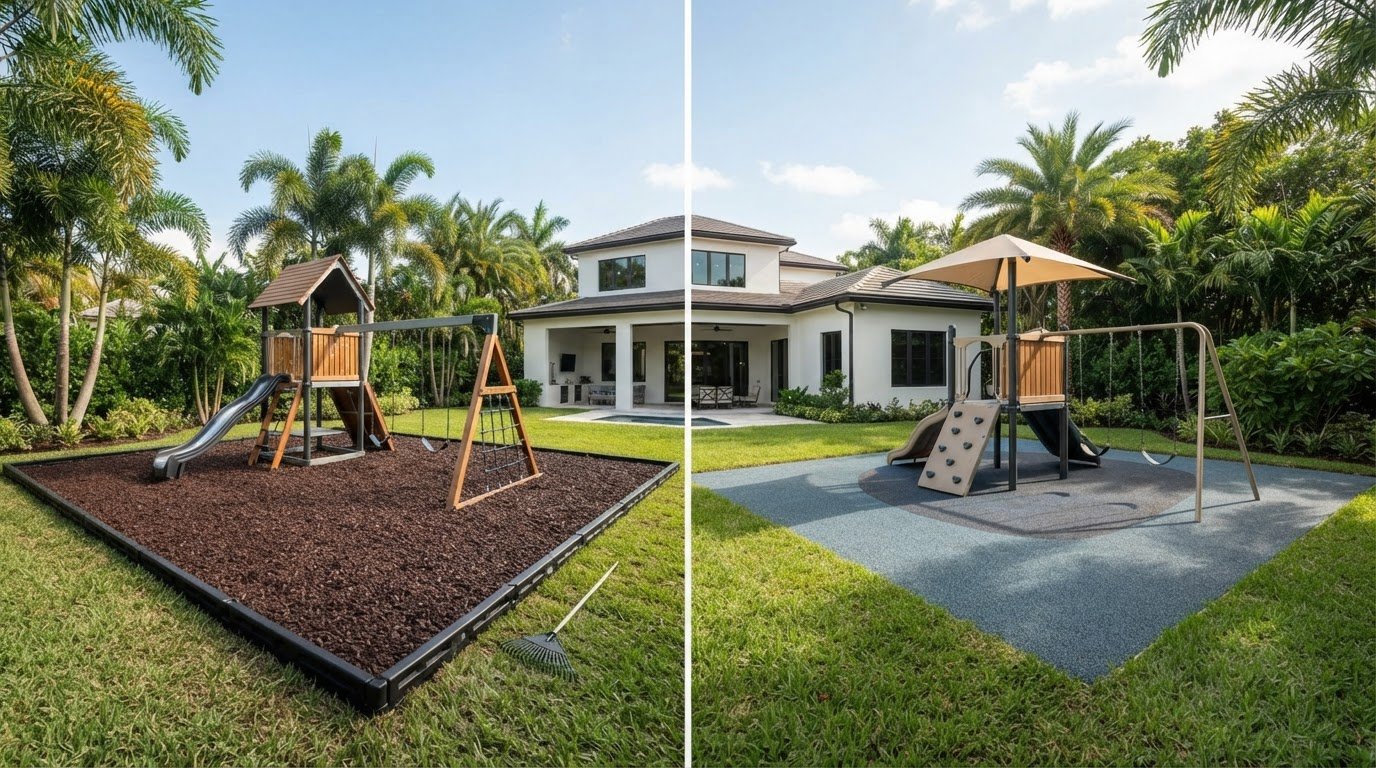
Pro Turf Greens offers Backyard Putting Greens, and its Tee Lines & Driving Ranges can support a broader golf practice setup. For families considering more than golf, Playgrounds & Recreational Turf offers another way to shape an outdoor space around recreation. These options can help you consider a design that suits your household’s priorities.
Bring your ideas and a sense of how you’d like to use the space. Contact Pro Turf Greens to discuss your putting green project and take the next step toward a practice area designed for your home.
Frequently Asked Questions
Who installs indoor putting greens in Palm Beach Gardens, FL?
Pro Turf Greens can discuss a custom putting green project for a Palm Beach Gardens property; its listed service area includes Palm Beach. For indoor putting green installation in Palm Beach Gardens, contact the team to review the room’s dimensions, access, floor condition, and practice goals before settling on a design. The company also serves Fort Lauderdale, Miami, Boca Raton, Delray Beach, Jupiter, Weston, and Coral Gables. Call 561-221-1010 for a free consultation.
What synthetic turf and putting green surfaces work best indoors?
Choose a golf-specific putting surface based on the room’s layout and your practice goals. Pro Turf Greens uses premium, long-lasting artificial turf engineered specifically for golf projects. Consider the available putting space, potential cup locations, and whether seams or changes in floor level affect the layout. A narrow room, for instance, may call for a different design from an open recreation area.
What is the indoor putting green installation process and timeline?
Installation moves from reviewing the room and creating a custom layout to preparing the floor and constructing the putting surface. The schedule depends on the room’s dimensions, floor condition, material access, and design details. Share photos or measurements during a consultation so the team can assess the space and discuss the appropriate sequence. Pro Turf Greens can provide a project-specific schedule after reviewing the site and proposed design.
Palm Beach County permits or building rules for indoor putting green installation
Permit considerations depend on the work involved. Placing turf on an existing floor differs from changing structural elements, electrical systems, plumbing, or room use, which may affect applicable local building requirements.