A polished surface can still hide installation problems. To assess whether artificial grass is installed correctly, look for pooling water, uneven spots, ripples or shifting, visible seams, and edges that lift or curl. For homeowners, avoiding common turf installation mistakes starts with checking how well the surface drains and how securely the turf is joined and anchored.
It’s understandable to focus first on how the finished turf looks. But the base, drainage, seam alignment, and edge preparation all affect how the surface performs under everyday use.
This guide explains how to spot warning signs, what sound drainage and seam work look like, and why site conditions can make installation more complex than it seems. You’ll also learn when professional expertise can help address grading, drainage, and fitting challenges before they become larger problems.
Key Takeaways
- Assess drainage by looking for pooling and low spots; NOAA Climate Prediction Center 6–10 day outlooks can help with scheduling around wet weather.
- Unevenness, bumps, or depressions can point to problems with excavation, base preparation, compaction, or grading.
- Seams are less noticeable when adjoining turf sections run in the same direction and are securely joined.
- Slopes, drainage needs, and site access can make installation more complex, so professional expertise may help address challenges before work begins.
1. Drainage, slope, and pooling prevention
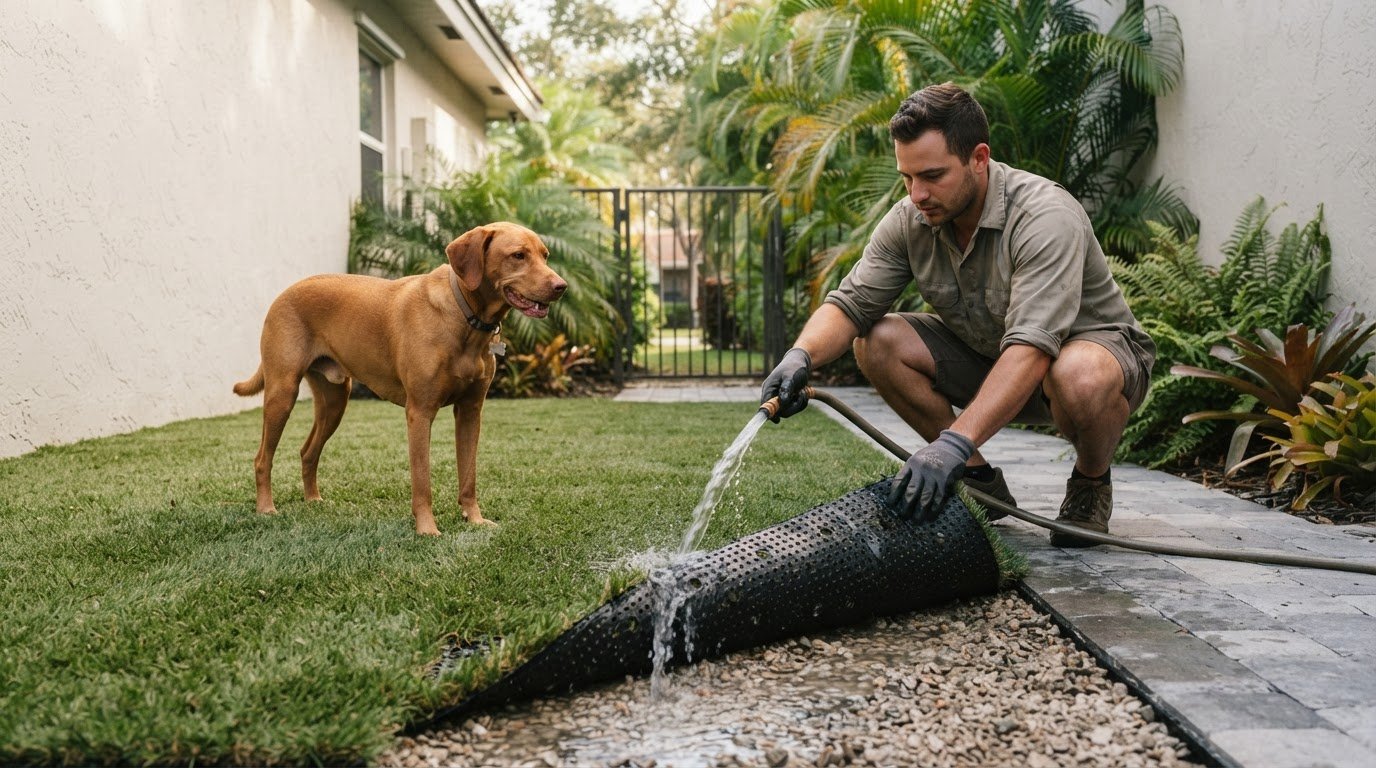
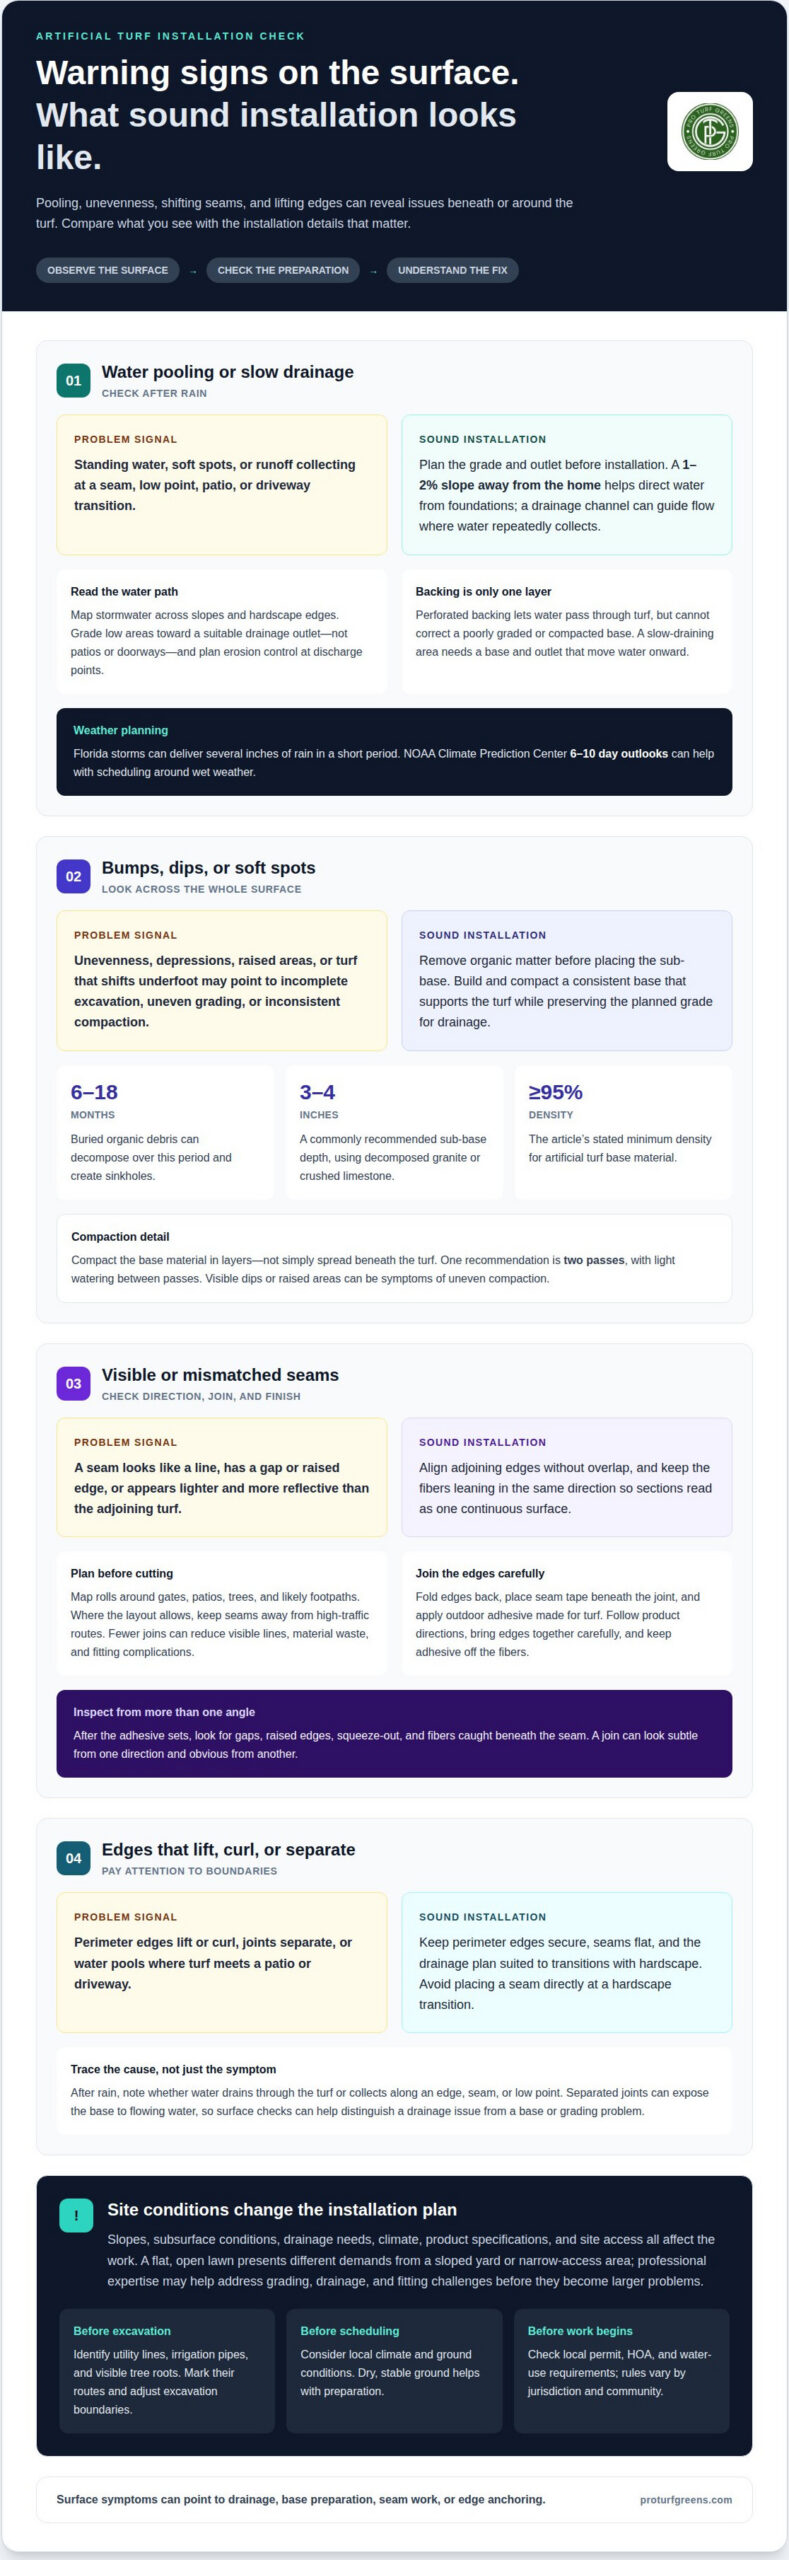
Plan drainage before artificial grass installation, not after visible puddles appear. A base with a 1–2% slope away from the home helps direct water from foundations. Grade low areas so runoff moves toward a suitable drainage outlet, not patios or doorways. Where water repeatedly collects, a drainage channel can guide flow away from the turf. Match the grading plan to the yard’s existing contours and nearby structures.
Florida storms can deliver several inches of rain in a short period, so local climate matters. Before scheduling, review the NOAA Climate Prediction Center’s 6–10 day outlooks for help planning around wet weather. Map where stormwater travels across the site, including slopes and hardscape edges. Plan erosion control at discharge points, since concentrated runoff can carry soil and disturb the prepared base. Keep water moving away from buildings and neighboring areas.
Backing affects how water passes through artificial turf. Perforated backing allows water to drain through the material, but it cannot correct a poorly graded or compacted base. Check the backing type alongside the site’s drainage design. For example, turf above a slow-draining area needs a base and outlet that move water onward, rather than relying on the fibers or backing alone. Proper installation accounts for both layers.
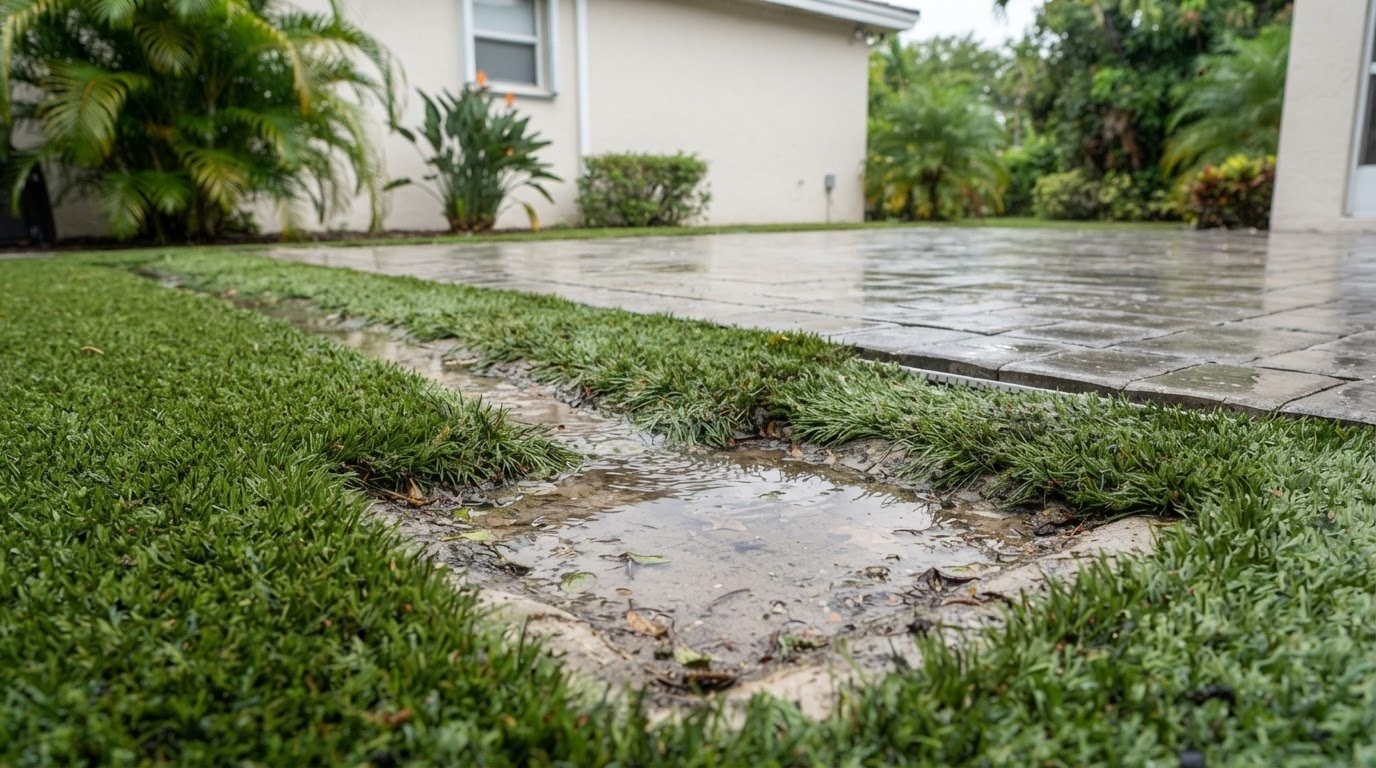
After rain, inspect the surface for standing water, soft spots, and runoff paths. Note whether water drains through the turf or collects along a seam, edge, or low point. Check that perimeter edges remain secure and seams lie flat; separated joints can expose the base to flowing water. If an edge meets a patio or driveway, observe whether runoff pools at that transition. These checks help distinguish surface drainage issues from base or grading problems.
2. How can I check if my artificial grass was installed correctly?
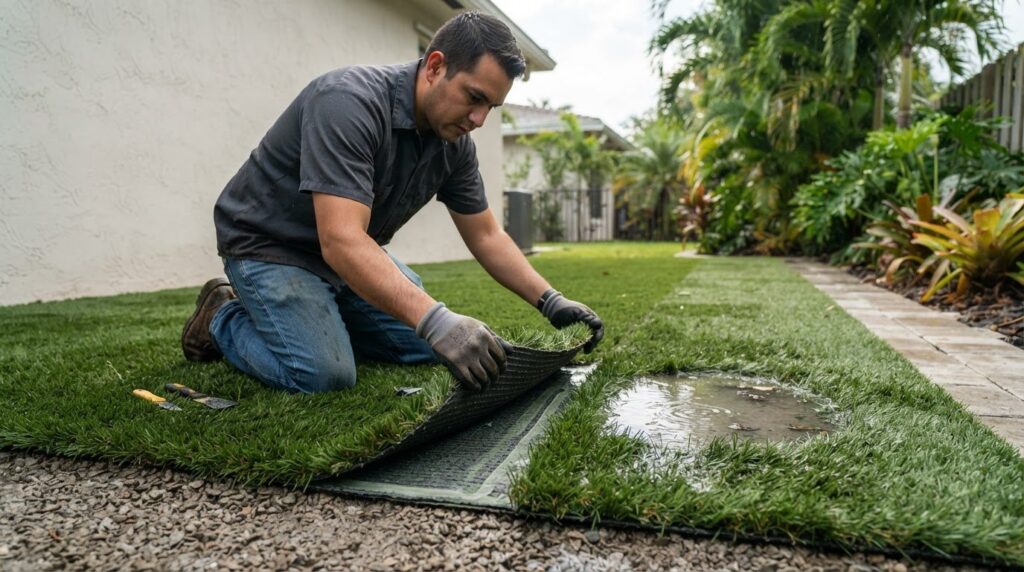
Inspect the surface for bumps, depressions, ripples, or areas that shift underfoot. These signs can point to incomplete excavation, uneven grading, or a base that wasn’t compacted evenly. A sound base supports the turf across the whole area, rather than leaving soft spots that may settle and create low points.
During base preparation, organic matter should be removed before the sub-base goes in. Buried debris can decompose over 6–18 months and create sinkholes. A commonly recommended sub-base is three to four inches deep, using decomposed granite or crushed limestone. Check whether the surface looks consistently level, while still following the planned grade for drainage.
Base material should be compacted in layers, not simply spread beneath the turf. One recommendation is to compact the material in two passes, with light watering between passes; artificial turf base material should reach at least 95% density. If compaction is uneven, the finished surface may show visible dips or raised areas. Homeowners can look for these symptoms, but the contractor’s preparation process determines what lies beneath.
Permit, HOA, and water-use rules vary by local jurisdiction and community. Review applicable requirements before excavation or changes to irrigation. For artificial turf, schedule work around local climate and ground conditions; dry, stable ground helps with preparation. Natural sod is different: install it promptly after delivery and water it after placement, with timing shaped by heat and moisture.
Before digging, identify utility lines, irrigation pipes, and visible tree roots. Mark their routes and adjust excavation boundaries to avoid cutting or disturbing them. This planning matters around artificial turf driveways, where the prepared base meets existing hardscape. A careful site assessment helps the installation account for those constraints before work begins.
3. Seam direction, alignment, and adhesive
Plan roll direction before cutting artificial turf. Walk the landscaping area and note gates, patios, trees, and likely footpaths. Place seams away from high-traffic routes where the layout allows. Fewer joins can reduce visible lines, material waste, and fitting complications. On an irregular yard, map each roll around fixed features first, then mark trim areas. This makes cuts deliberate instead of forcing narrow offcuts into prominent sections.
Keep the turf grain consistent. The fibers on adjoining pieces should lean in the same direction, or one section may look lighter and more reflective. Lay the rolls side by side before joining them, then check their appearance from the main viewing angle. For example, if fibers point toward the house on one piece, align the neighboring piece the same way. Matching direction helps synthetic grass read as one continuous surface.
To measure and lay natural sod, measure the prepared area, arrange pieces with staggered joints, butt edges together, and trim around curves. Water sod promptly after laying; artificial turf is a different material and doesn’t require watering to establish roots. For artificial turf seams, align the edges without overlap, fold them back, place seam tape beneath the joint, and apply outdoor adhesive made for turf. Follow the adhesive’s product directions, then bring the edges together carefully. Avoid getting adhesive on the fibers.
Inspect the joined area after the adhesive sets. Look for gaps, raised edges, adhesive squeeze-out, and fibers caught beneath the seam. Check from several angles, since a seam can appear subtle from one direction and obvious from another. Keep the perimeter secure where turf meets hardscape, and avoid placing a seam directly at that transition. For an outdoor driveway layout, artificial turf driveways also benefit from planning roll direction around the approach and edges.
4. Installation complexity and professional expertise
A turf project involves more than unrolling material across a prepared surface. Grading, subsurface conditions, drainage, climate, and product specifications all shape the installation plan. A flat, open lawn presents different demands from a sloped yard or narrow-access area. Consider these factors together because a decision about the base can affect drainage, stability, and the finished appearance.
Access changes the work, too. A narrow passage may limit how materials reach the site, while a slope can require careful grading and compaction. Project planning needs to account for surface preparation, access limits, and the work required for fine grading. Extra base materials may also be needed in tight areas. These are practical scope details, not minor finishing choices.
A 400-square-foot dog-run example illustrates why area alone can’t define a project. A quote based only on square footage overlooks seam placement, edge preparation, and site conditions. Planning also includes delivery coordination: rolls and accessories need to be staged without blocking access or disrupting other work. Clear sequencing helps crews prepare the site and fit the turf efficiently.
Use requirements affect material and finishing decisions. A putting green, for example, needs turf selected with its intended play and player experience in mind. Infill can help blades stand upright and contribute cushioning and filtration, while busy surfaces place different demands on preparation and layout. A professional plan connects those choices to the site, rather than treating every artificial turf installation alike.
Professional expertise is especially useful when grading, access, drainage, or specialized use complicates the work. For a putting green project, discuss your putting green installation with a specialist who can assess the layout and preparation needs before installation begins.
Pro Turf Greens
Pro Turf Greens plans and installs artificial turf for homes and commercial spaces in Fort Lauderdale, Miami, Palm Beach, Boca Raton, Delray Beach, Jupiter, Palm Beach Gardens, Weston, and Coral Gables. Project planning considers drainage, grading, seams, and the intended use of the space. Its work includes professional-grade backyard putting greens, recreational and playground turf, tee lines and driving ranges, and artificial turf lawns and pet turf.
Consider professional help if the area has difficult slopes, limited access, complex edges, or a specialized purpose. Discussing the layout and how the turf will be used helps shape decisions about preparation and installation. Contact Pro Turf Greens to discuss your project and request a free consultation.
Plan a turf surface around how you’ll use it
Start by defining what the finished space needs to do. Consider who will use it, how people will move across it, and which parts of the site need careful integration with existing landscaping. These choices give the installation plan a clear purpose and help keep practical decisions aligned with the result you want. Avoiding common turf installation mistakes begins with treating the project as a complete space, not simply a surface covering.
Pro Turf Greens offers Backyard Putting Greens, Playgrounds & Recreational Turf, and Tee Lines & Driving Ranges. Whether you’re shaping a place for recreation or focused practice, a conversation about your goals and site can help define the right direction. Contact Pro Turf Greens today to discuss your project and take the next step toward a carefully planned turf space.
Frequently Asked Questions
How can I check if my artificial grass was installed correctly?
Inspect the turf after regular use and again after rain. Look for changes that appear over time, such as a new soft spot, a shifting edge, or a seam that becomes more noticeable. Take photos from the same viewpoint to track changes. If one area repeatedly feels different underfoot, record its location and whether the change followed rain or heavy use.
What causes artificial grass to fail?
Artificial grass can develop problems when the installation system doesn’t suit the site or its use. For example, heavy foot traffic can expose weak anchoring, while poor water movement can leave the surface wet beneath the turf. A surface designed for light activity may also wear differently in a busy play area. Failure often reflects several interacting choices, not just the turf material.
What are the most common mistakes when installing sod or artificial turf?
Common errors include treating natural sod and artificial turf as interchangeable, rushing site preparation, and choosing a layout without considering how people will use the space. Natural sod needs attention to its living roots and prompt watering after installation; artificial turf needs a stable installation system suited to its purpose. Avoiding common turf installation mistakes means matching the material and preparation to the site’s intended use.
How should soil be tested and prepared before turf installation?
For natural sod, a soil test can help identify pH or nutrient conditions that may affect establishment. For synthetic turf, assess whether the ground contains organic debris, settles unevenly, or drains poorly. In South Florida, sandy soil and site-specific conditions can influence preparation. Clear unsuitable material and plan the finished grade before placing the selected surface system.
How much topsoil, grading, and base material is needed for turf installation?
There isn’t one amount that fits every yard. Topsoil is associated with natural sod, while artificial turf typically relies on a prepared aggregate base rather than a layer of topsoil beneath the surface. The grading and materials required depend on existing elevations, soil conditions, intended use, and where water needs to flow. A site assessment helps establish those quantities.
What base depth and compaction are required for artificial turf?
A commonly recommended artificial-turf sub-base is three to four inches deep, using decomposed granite or crushed limestone. Base material should reach at least 95% density. These figures provide a useful reference, but the installation also needs consistent support across the area. Pay particular attention to transitions, narrow sections, and places where different surfaces meet, since those details affect how the finished turf sits.