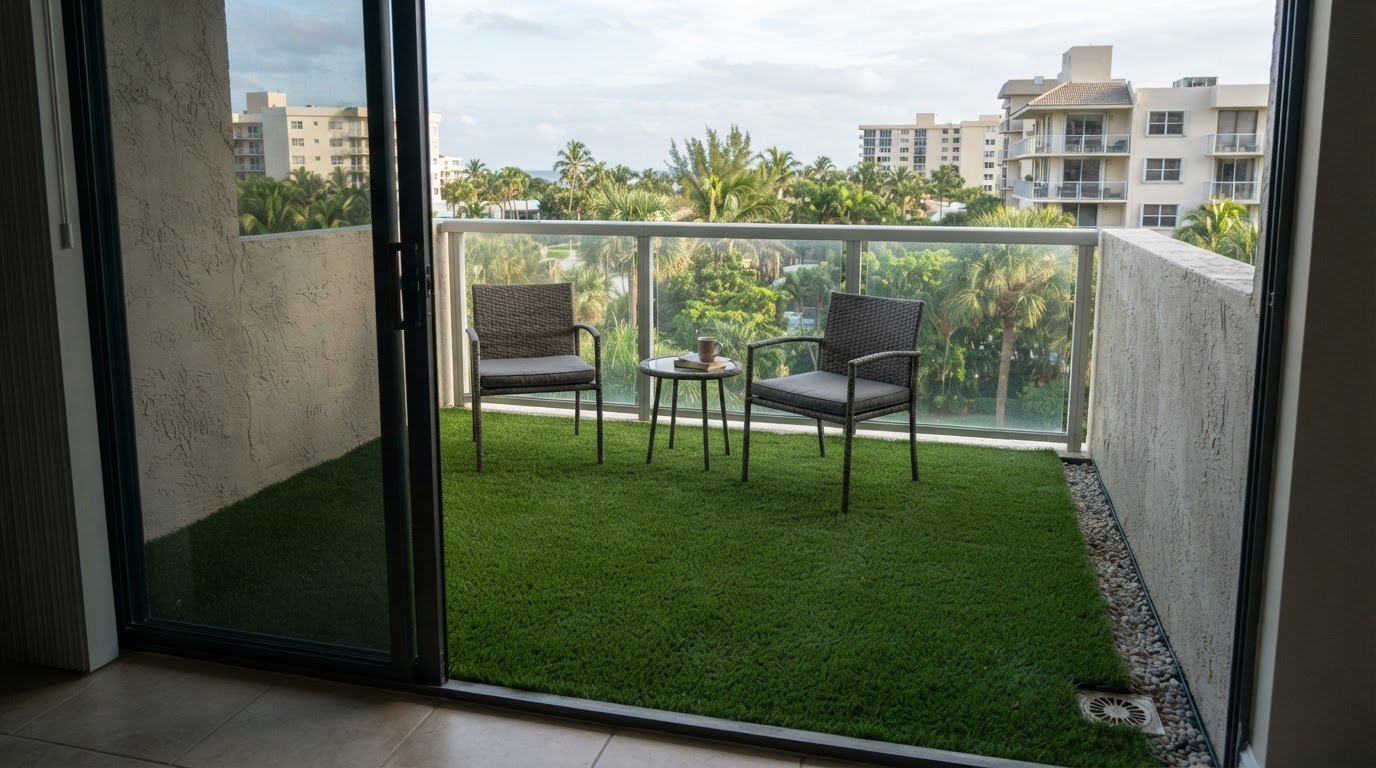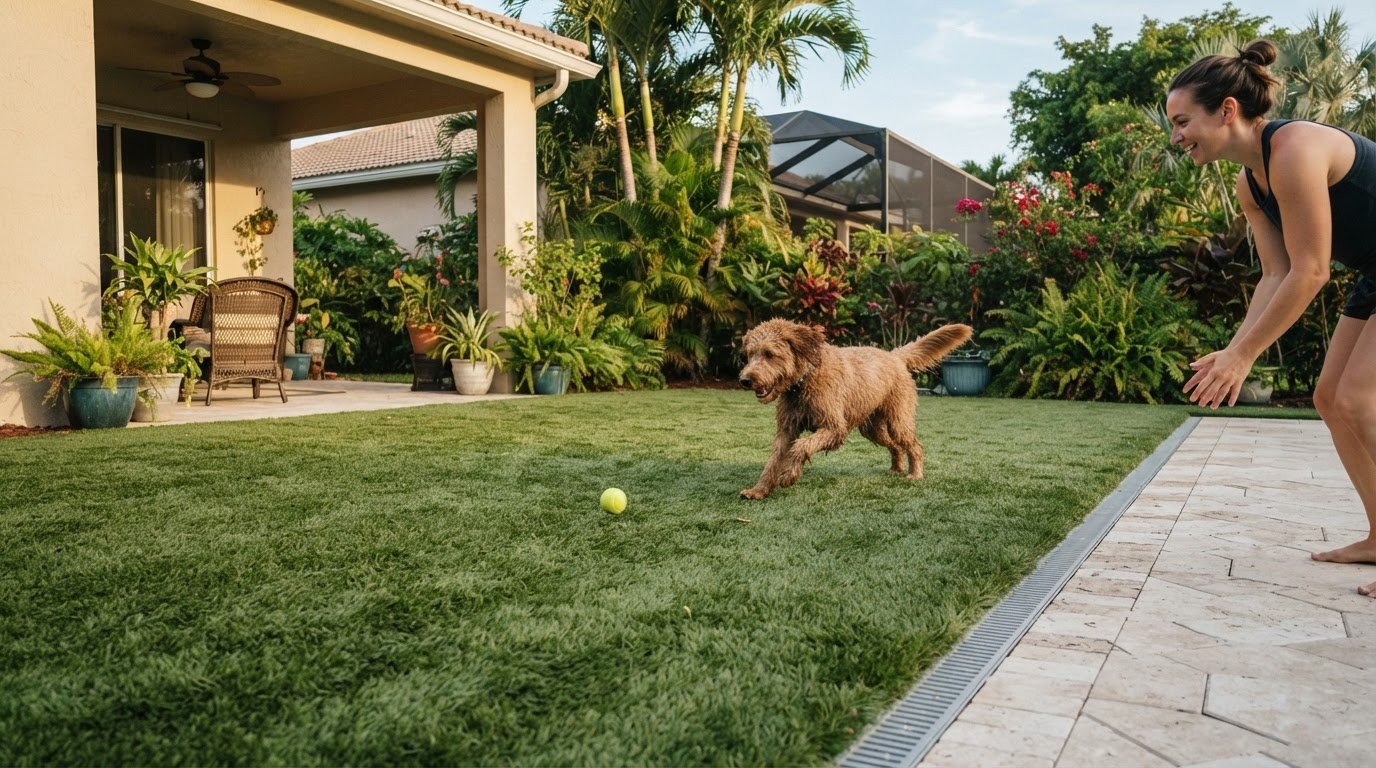
A smooth artificial lawn starts with careful preparation and clean, aligned seams. This guide explains the artificial turf installation process step-by-step, from preparing the base to trimming the turf and applying infill. Leave about one inch of extra turf along edges for tucking, and let seam adhesive set before walking on the joined area.
It’s easy to focus on the turf itself, but the details beneath and between each piece shape the finished surface. An evenly spread base and seams that meet without overlapping help create a lawn that looks continuous and feels uniform underfoot.
Follow the artificial turf installation process step-by-step to see how to prepare the base, cut turf with the blade direction in mind, and join seams carefully. You’ll also learn how to spread and brush in infill so the fibers stand upright across the finished surface.
Key Takeaways
- Compact and level the base in even layers so the turf has a stable, well-draining foundation.
- Match the direction of the turf blades before cutting, and trim edges carefully to help seams blend.
- Keep seam edges aligned as you secure them, then allow the adhesive to set before working over the join.
- Brush the turf fibers upright before spreading infill, then work it evenly across the surface.
Applying and brushing in infill
Before adding infill, consider two things: which material suits the turf and how much to use. Permit requirements and HOA rules vary by locality and project, so check with your local building department and HOA before installation.
-
Choose Optional Infill
Select infill suited to the turf and its intended use. Round silica sand is a standard option, with a general application range of 1-3 pounds per square foot. The amount depends on the turf system and how the surface will be used, so follow the product’s installation instructions rather than treating one quantity as universal.
For planning, distinguish that standard range from other recommendations: 1-2 pounds per square foot can help weigh turf down and reduce matting in high-traffic areas. Infill may be optional for some installations, but skipping it changes how the turf fibers are supported.
-
Apply and Brush Infill Sand
Brush the blades against their grain before spreading infill. This lifts the fibers and helps sand settle between them instead of resting on top. Work in manageable sections, keeping the brush strokes consistent so the blades stand upright before the material goes down.
Use a drop spreader to distribute infill evenly, following the turf and spreader instructions. Spread infill across the turf rather than pouring it into one spot; concentrated piles can bury blades and make distribution uneven.
- Apply infill in controlled passes, using the turf instructions to guide the total amount. One set of instructions recommends spreading 2-4 pounds across the installed surface and repeating the application process 1-2 times. These figures differ from the standard silica-sand range, so don’t combine them automatically; use the quantity specified for the chosen turf and infill.
- After each pass, brush the turf against the grain again to work sand between the blades. Check for bare areas, visible piles, or flattened fibers, and correct them before adding another pass. A final brushing distributes the infill more evenly and leaves the blades upright across the surface.
Spreading and leveling the gravel-and-sand base
DIY savings come mainly from doing the labor yourself, while equipment access, excavation, disposal, and material quantities affect the result. Prepare the subgrade and drainage before laying synthetic turf, since uneven support can show through on the finished surface.
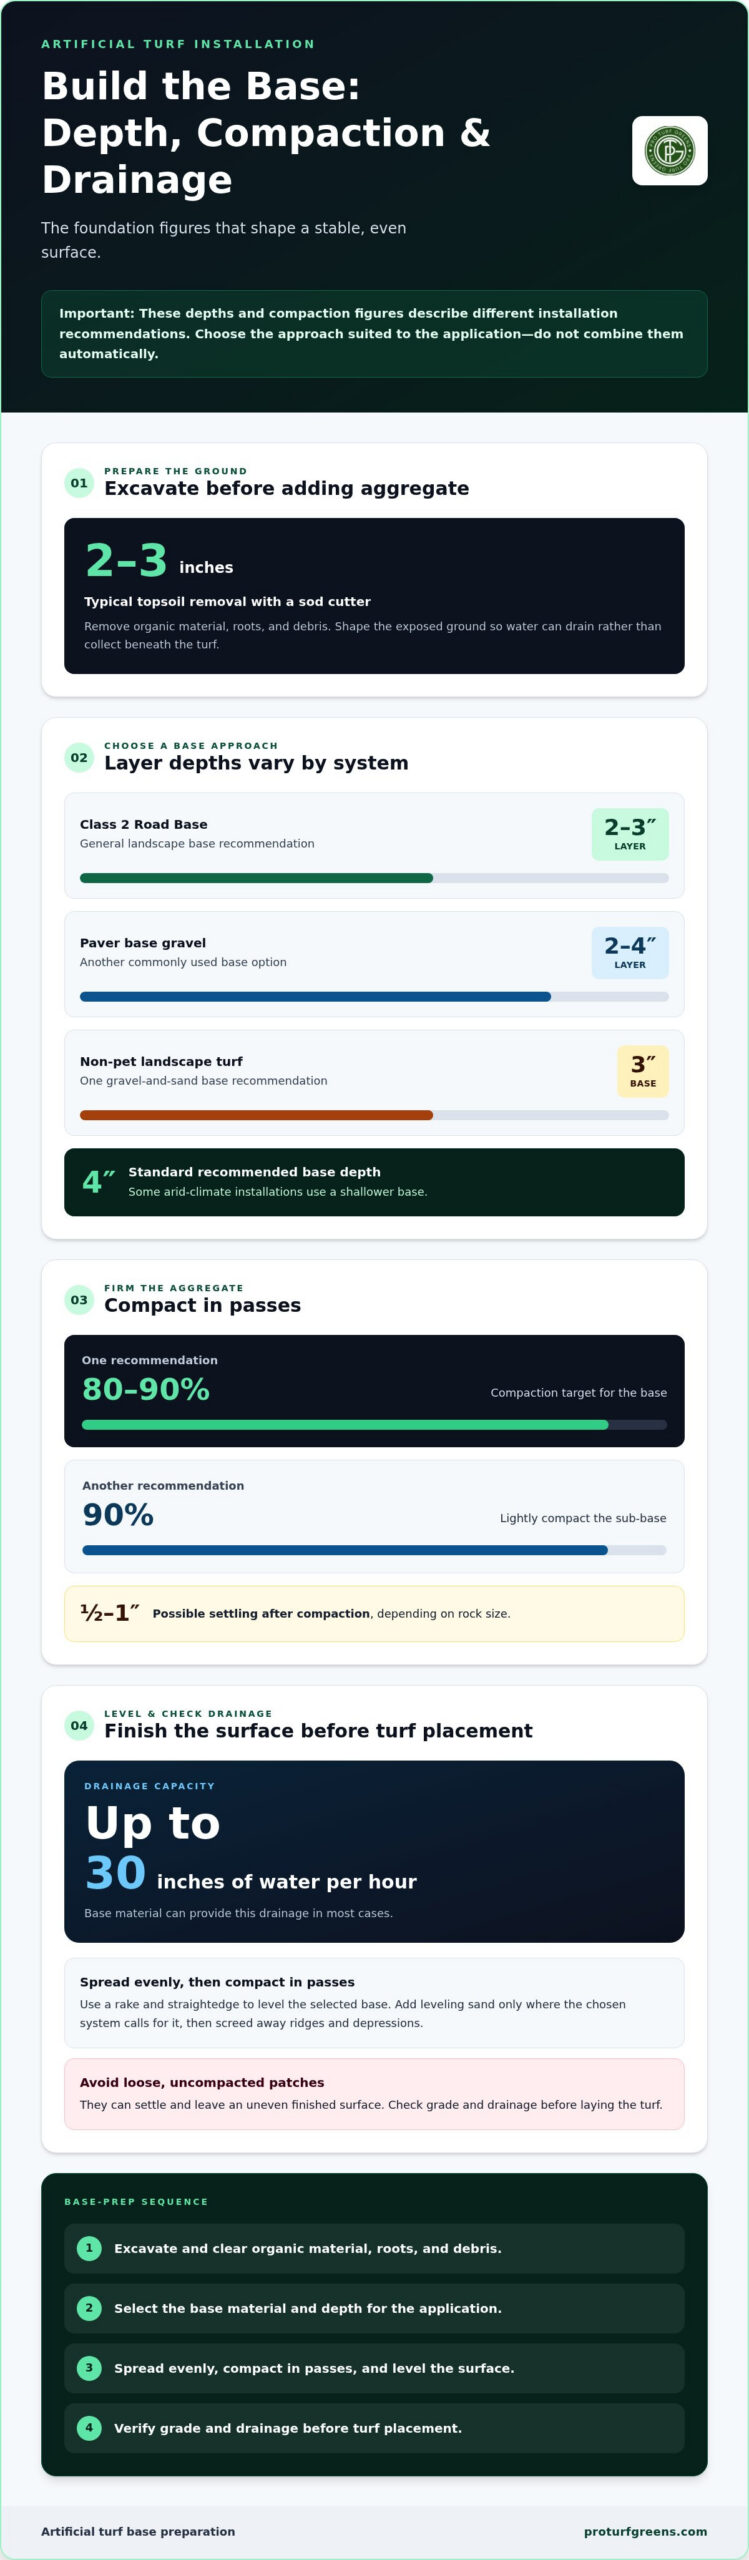
- Excavate the area and remove organic material before bringing in aggregate. A sod cutter typically removes 2-3 inches of topsoil for artificial turf installation. Clear roots and debris, then shape the exposed ground so water can drain rather than collect beneath the turf.
- Gather tools and materials before spreading the base: a sod cutter for excavation, a rake and straightedge for leveling, and a compactor for firming aggregate. Common base materials include crushed rock, paver base gravel, and leveling sand. Wear suitable protective equipment when cutting, moving aggregate, and operating machinery.
- Select aggregate according to the application and drainage needs. A general landscape base may use a 2-3-inch layer of Class 2 Road Base; paver base gravel is another option, commonly used in a 2-4-inch layer. For non-pet landscape turf, one recommendation uses a 3-inch gravel-and-sand base. These are different installation approaches, not layers to combine automatically.
- Spread the chosen base evenly, then compact it in passes. One recommendation calls for 80-90% compaction, while another calls for lightly compacting the sub-base to 90%. A 4-inch base is a standard recommended depth, though some arid-climate installations use a shallower base. Base material may settle ½-1 inch after compaction, depending on rock size.
- Finish with leveling sand where the selected system calls for it, screeding the surface to remove ridges and depressions. Check the grade and drainage before turf placement; base material can provide drainage of up to 30 inches of water per hour in most cases. Avoid loose, uncompacted patches, which can settle and leave an uneven surface.
Cutting turf and preparing seams
Lay the rolls with their blades facing the same direction, then align adjoining edges before cutting. Trim the turf to fit, prepare each seam, and secure the joined pieces and perimeter.
- Unroll the turf over the prepared base and leave it in place to acclimate for 24 hours before installation. Most rolls are 15 feet wide, and some can extend up to 200 feet long, so plan the layout to minimize joins. Keep blade direction consistent across pieces, since opposing directions can make adjacent sections look different.
- Position each piece so enough material extends beyond its final boundary. Overcut artificial turf by one inch along edges that will be tucked, leaving room for a clean fit. At borders, walls, and other fixed edges, trim gradually instead of removing excess in one cut.
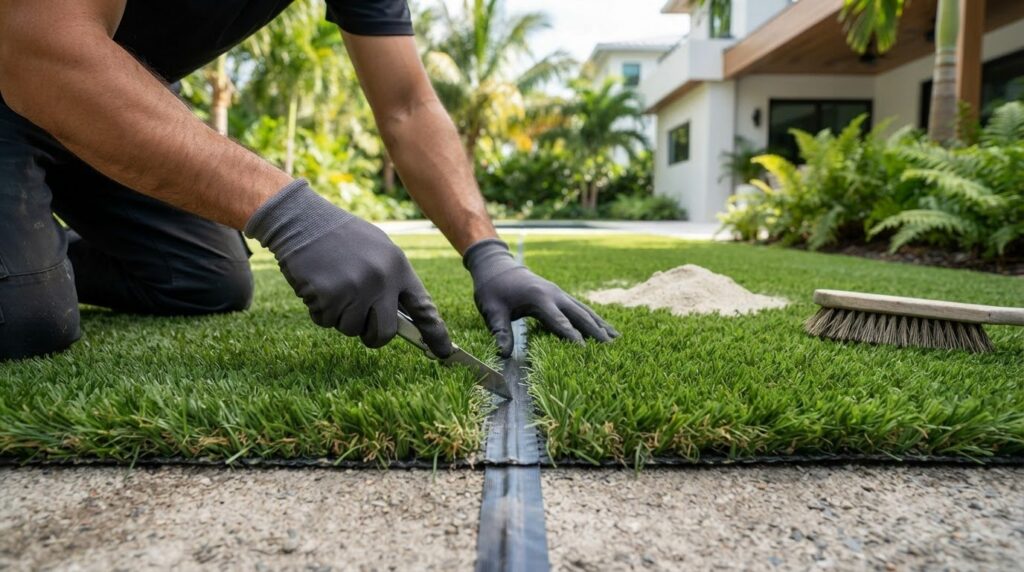
- Prepare each seam by bringing the neighboring edges together and checking that the blades run in the same direction. Cut the seam in an S-shape to reduce the chance of a visible discoloration line. Use the backing as a cutting guide and keep the cut controlled so the edge stays even.
- Inspect the backing after cutting. Trim frayed fabric edges, leaving approximately a ¼-inch margin from the first row of blades. This helps keep loose fabric from showing in the join while preserving enough backing for the seam connection.
- Before joining, lay both pieces flat and confirm the seam edges meet without bunching or overlap. A layout may need one seam between rolls, while a larger area may need several; align each join before fastening. For adhesive installation, center seam cloth beneath the meeting edges and follow the adhesive instructions.
- Secure the prepared seam and perimeter after the fit looks consistent. U-nails used to join seams are spaced six inches apart; another method uses 6-inch nails every 4 inches in a diagonal pattern on both sides. Along the perimeter, edge nails may be placed 4 to 6 inches on center, ½ inch from the edge.
Joining turf seams with cloth and adhesive
Join aligned turf pieces with adhesive or mechanical fasteners. Keep the seam flat during attachment, then allow the adhesive to set before foot traffic.
- Fold back the turf edges and center seam cloth beneath the join. Keep the cloth straight along the landscape seam, with enough support beneath both pieces. Check that the edges meet evenly and the blades remain aligned before applying adhesive; shifting them afterward can disturb the bond.
- Spread turf adhesive on the seam cloth with a ¼-inch V-shaped trowel. Apply it along approximately 12 inches of the seam cloth’s center line, maintaining an even layer. Follow the adhesive’s instructions for coverage and handling, and avoid placing adhesive on the turf blades.
- Lower the turf edges onto the cloth carefully, joining them without overlap or a visible gap. Press along the seam so both backings contact the adhesive. Allow the adhesive to set for 20-30 minutes before walking on the seamed area; foot traffic too early can shift the pieces.
- For a nail-fastened seam, fold back 12 inches of turf on both sides. Place one 6-inch nail every 4 inches along the seam, using a diagonal pattern on both sides. Keep the nail line consistent so the edges stay secured without pulling the turf out of alignment.
- Use galvanized fasteners suited to the seam method. Six-inch 60D galvanized nails are one option for securing seams, while U-nails used to join turf seams are spaced six inches apart. Don’t combine fastening patterns automatically; keep each method consistent and check that no fastener catches or bends the backing.
- Inspect the full join before adding infill. Look for lifted backing, uneven edges, or a visible opening, then correct any problem while the seam remains accessible. If you want expert help planning a seamless turf landscape, connect about your turf project.
Pro Turf Greens: Backyard Putting Greens
Pro Turf Greens designs and installs professional-grade backyard putting greens for homeowners who want a dedicated place to practice at home. Consider a custom green when your project calls for more than a general lawn and you want a putting surface integrated into your outdoor space. The design can account for the area’s shape, surrounding landscape, and how you intend to use the green.
For a professionally designed and installed surface, Pro Turf Greens creates backyard putting greens, artificial turf lawns and pet-friendly turf, playground and recreational turf, and tee lines and driving ranges. The right option depends on how you plan to use the space and the finish you want.
Contact Pro Turf Greens to discuss a custom backyard putting green for your space.
Shape Your Next Outdoor Project
Following the artificial turf installation process step-by-step helps clarify the work involved. Next, decide how the finished space should serve you: as a place to practice putting, a recreational area, or a dedicated tee line or driving range. Matching the project to its purpose helps guide design and installation choices.
Pro Turf Greens designs and installs Backyard Putting Greens, Playgrounds & Recreational Turf, and Tee Lines & Driving Ranges. If you’re planning one of these spaces in Fort Lauderdale, Miami, Palm Beach, Boca Raton, Delray Beach, Jupiter, Palm Beach Gardens, Weston, or Coral Gables, share your goals and ideas with the team to discuss a suitable artificial turf solution.
Contact Pro Turf Greens to discuss your turf project and take a considered next step toward an outdoor space designed around how you want to use it.
Frequently Asked Questions
What are the step-by-step stages of artificial turf installation?
Artificial turf installation typically moves from site planning to finishing: map the area, prepare and compact the base, position the turf, trim edges, join seams, secure the perimeter, then add and brush in infill. Before starting, mark fixed features such as gates, drains, and planting beds on a sketch. This helps plan roll placement and identify where careful cuts or joins will be needed.
How do you measure and prepare a yard for artificial turf?
Measure the yard’s length and width, then sketch its shape and mark obstacles, borders, and drainage points. Divide irregular areas into manageable sections, measuring each separately before combining the results. Include extra turf for trimming and tucking at edges. Clear loose debris and vegetation from the planned footprint, and note transitions to patios or paths so the finished surface meets them cleanly.
How deep should you excavate for artificial turf, and what base materials should you use?
Excavation depth and base depth are separate measurements. A sod cutter typically removes 2-3 inches of topsoil, while a 4-inch base is a standard recommendation; the project design and ground conditions affect the choice. Common base materials include crushed drain rock, paver base gravel, and sand for leveling. Keep the selected material consistent with the intended use and drainage needs.
How do you install and compact the base for artificial turf?
Spread the chosen aggregate in an even layer, compact it, and check the surface before placing turf. The recommendations range from 80-90% compaction to lightly compacting the sub-base to 90%. Avoid leaving loose pockets or raised ridges, since they can create uneven support. Recheck the grade after compaction, because base material may settle depending on the size of its rock.
What drainage requirements and grading prevent puddles under artificial turf?
Shape the prepared surface so water moves toward a suitable drainage outlet instead of collecting in low spots. A smooth grade matters as much as permeable base material: depressions can hold water even where aggregate drains well. In Fort Lauderdale, Miami, Palm Beach, Boca Raton, Delray Beach, Jupiter, Palm Beach Gardens, Weston, and Coral Gables, assess existing runoff paths and nearby hardscape before setting the final grade. Avoid directing water toward buildings or neighboring areas.
How much can you save by installing artificial turf yourself?
Savings come mainly from doing the labor yourself; equipment access, excavation, disposal, and material quantities also affect the result.